

1
Create a developer account
Head over to our Developer console and sign in with your Attio account.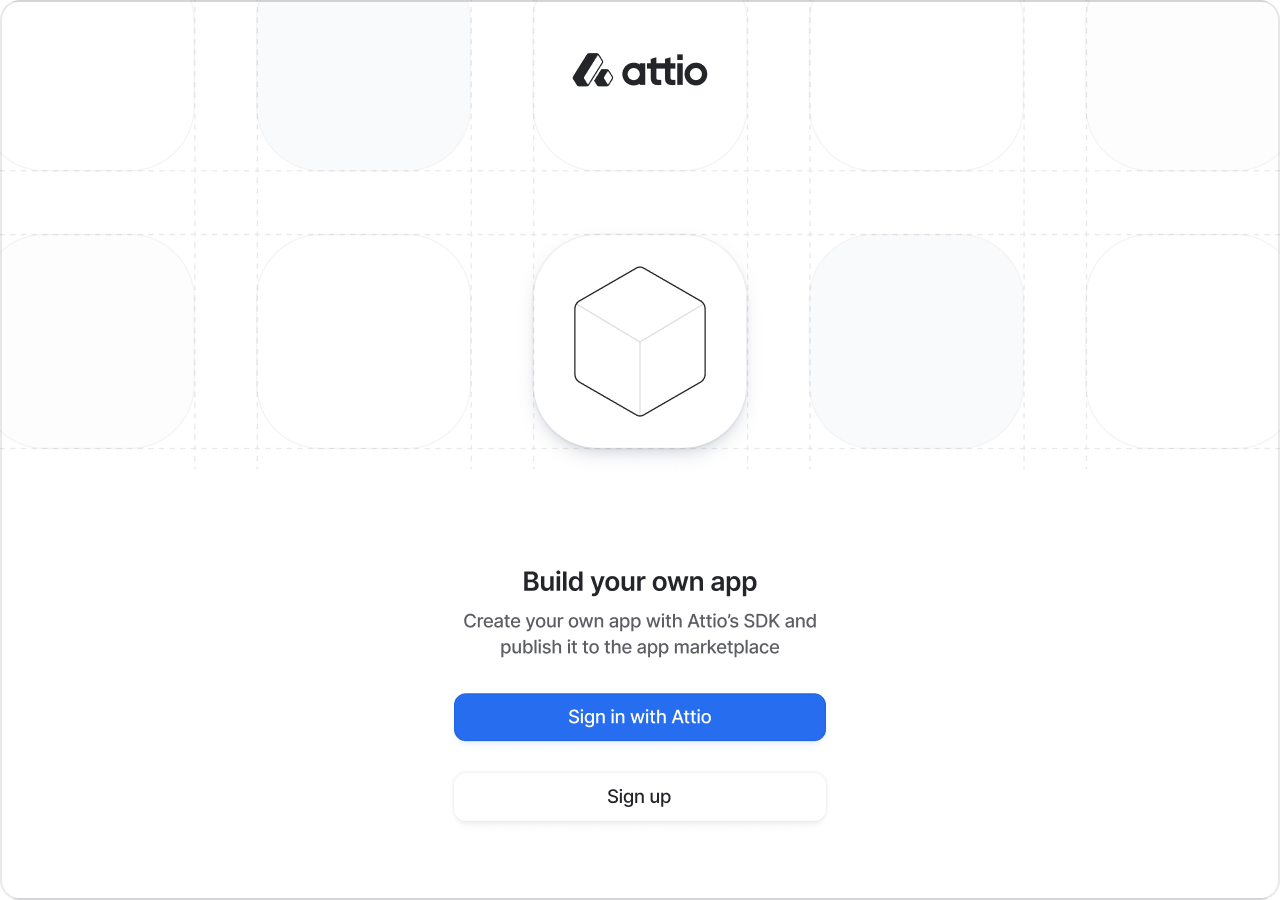
 Then, create a developer account. You should set the name of your account to the name of your company
or organization.
Then, create a developer account. You should set the name of your account to the name of your company
or organization.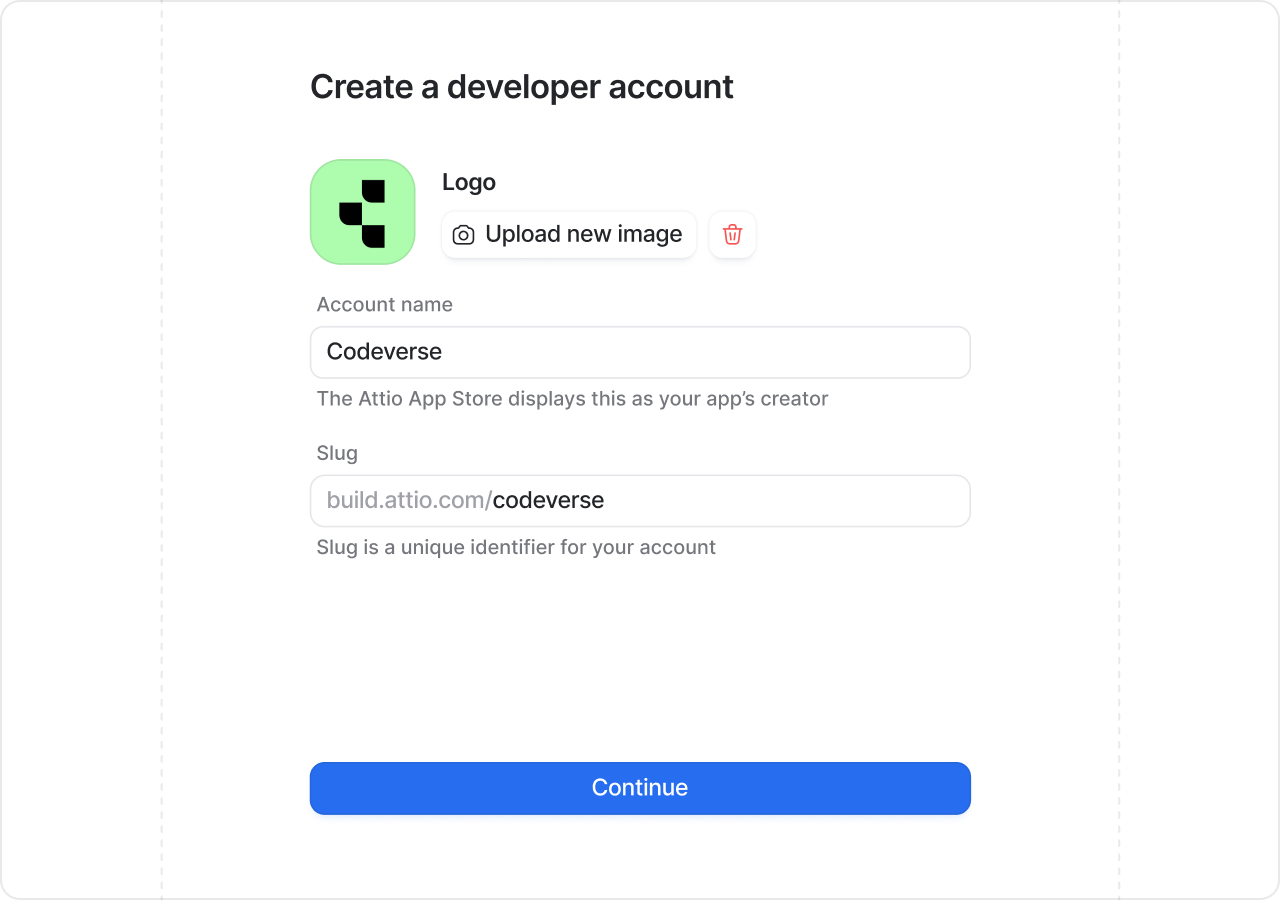
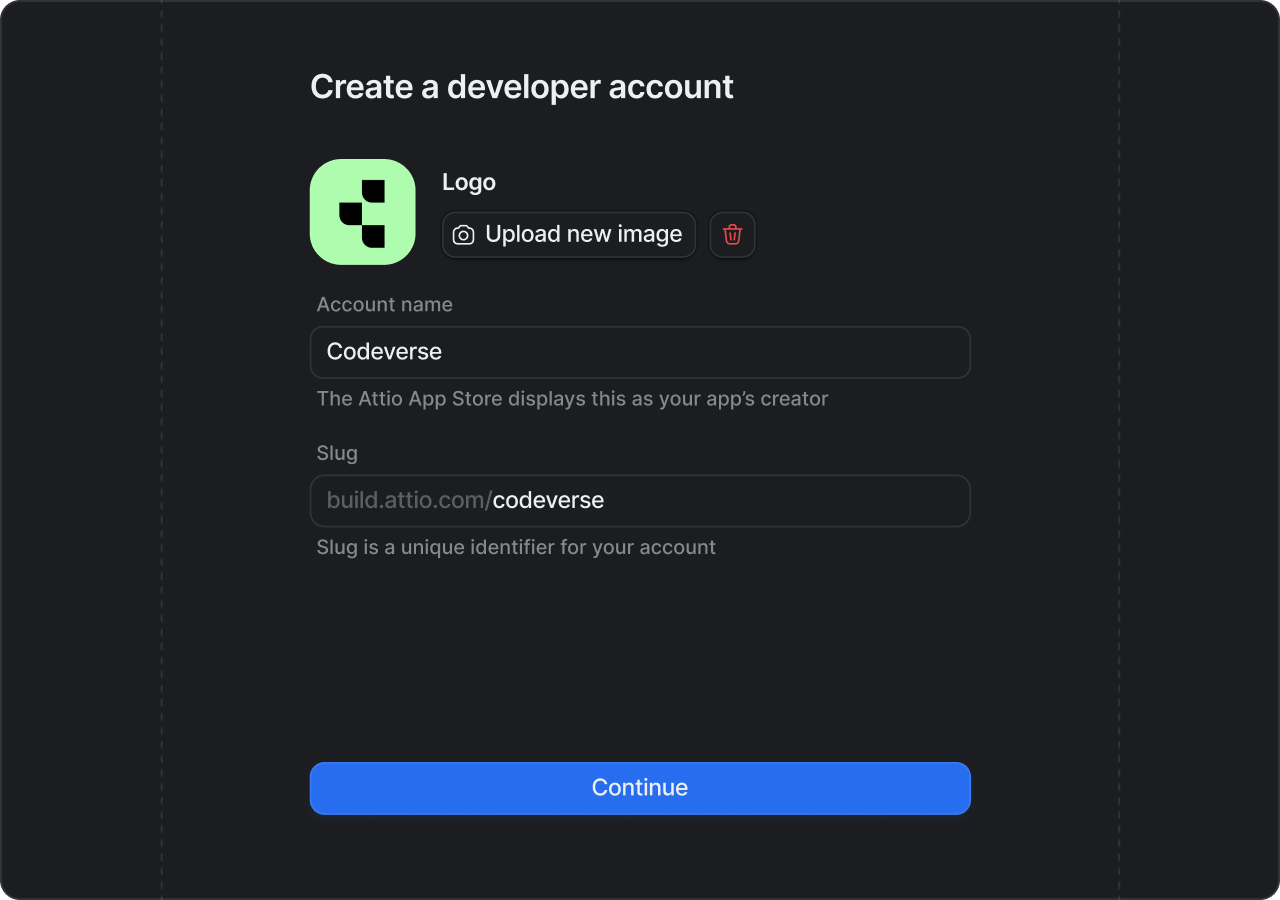
Then, create a developer account. You should set the name of your account to the name of your company
or organization.2
Create a new app
Now that you’ve created a developer account, let’s create an app.Fill in the app’s name and ensure it has a unique slug.
3
Initialize your app
Now that you’ve created your app, let’s download your app’s starter code. You can do this by following the quickstart instructions in the Developer console’s app information tab, or follow these instructions:Fire up your favorite terminal and enter:For example, if your app slug is
my-first-app you would enter:Always include
@latest when creating a new app. Without it, npm may use an older, cached
version of the attio package. To update the attio package in an existing app, run
npm install attio@latest.4
Install dependencies
Next you need to
cd into the newly created project folder and run:5
Start development server
Now that’s complete, all that’s left to do is start running your app locally. To do this run:It will ask you to choose a workspace to develop your app in. Once you choose a workspace you will be redirected to install the app.
6
Install your app
Once you’ve chosen a workspace, you’ll be asked to press
i to be directed to the install app page where you can install your app in the chosen workspace.7
Try out your app
Now that your app is installed, let’s take a look at the example action we’ve added to Attio.Head over to any record page. Click the three dots overflow menu button and you should see your app’s name listed as an option.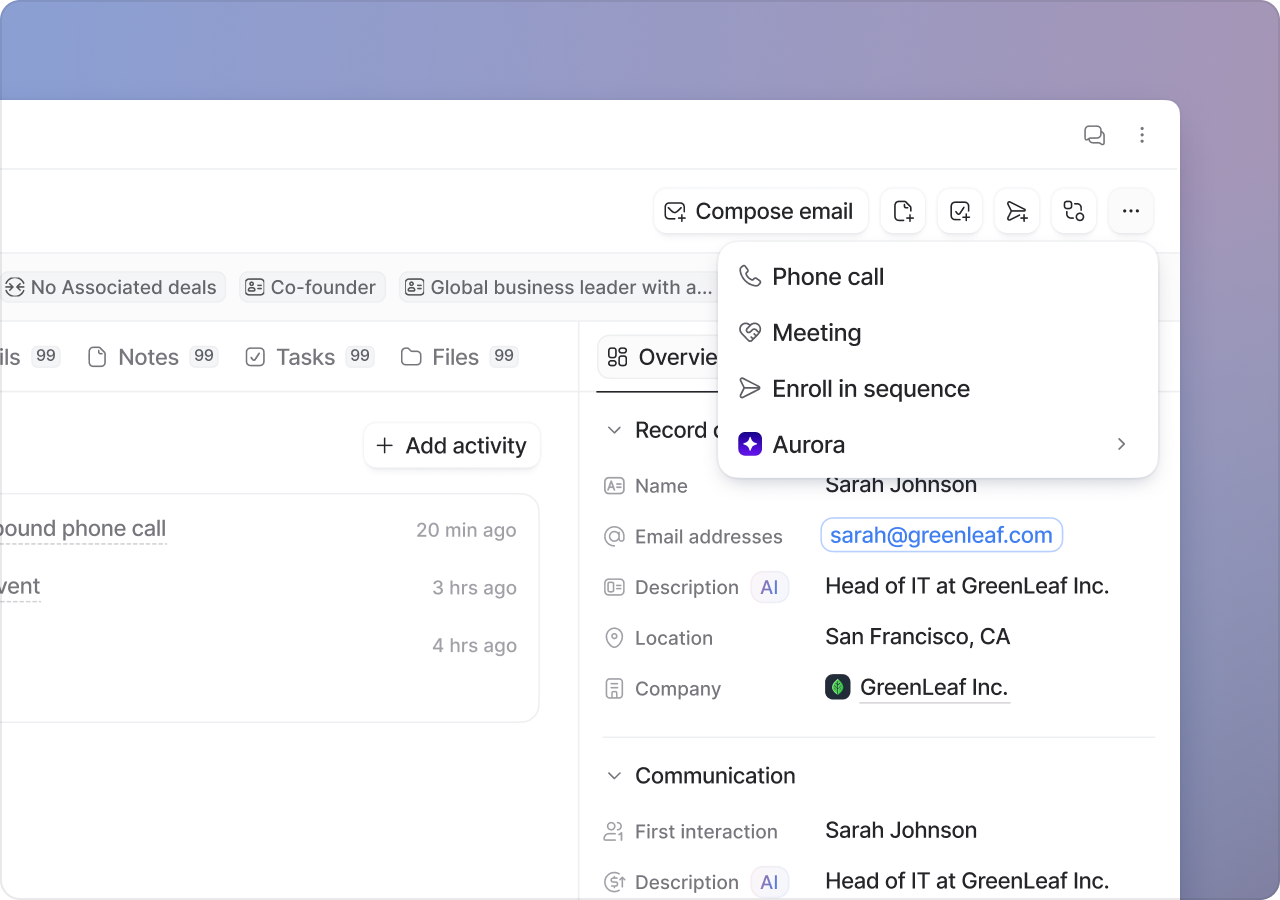
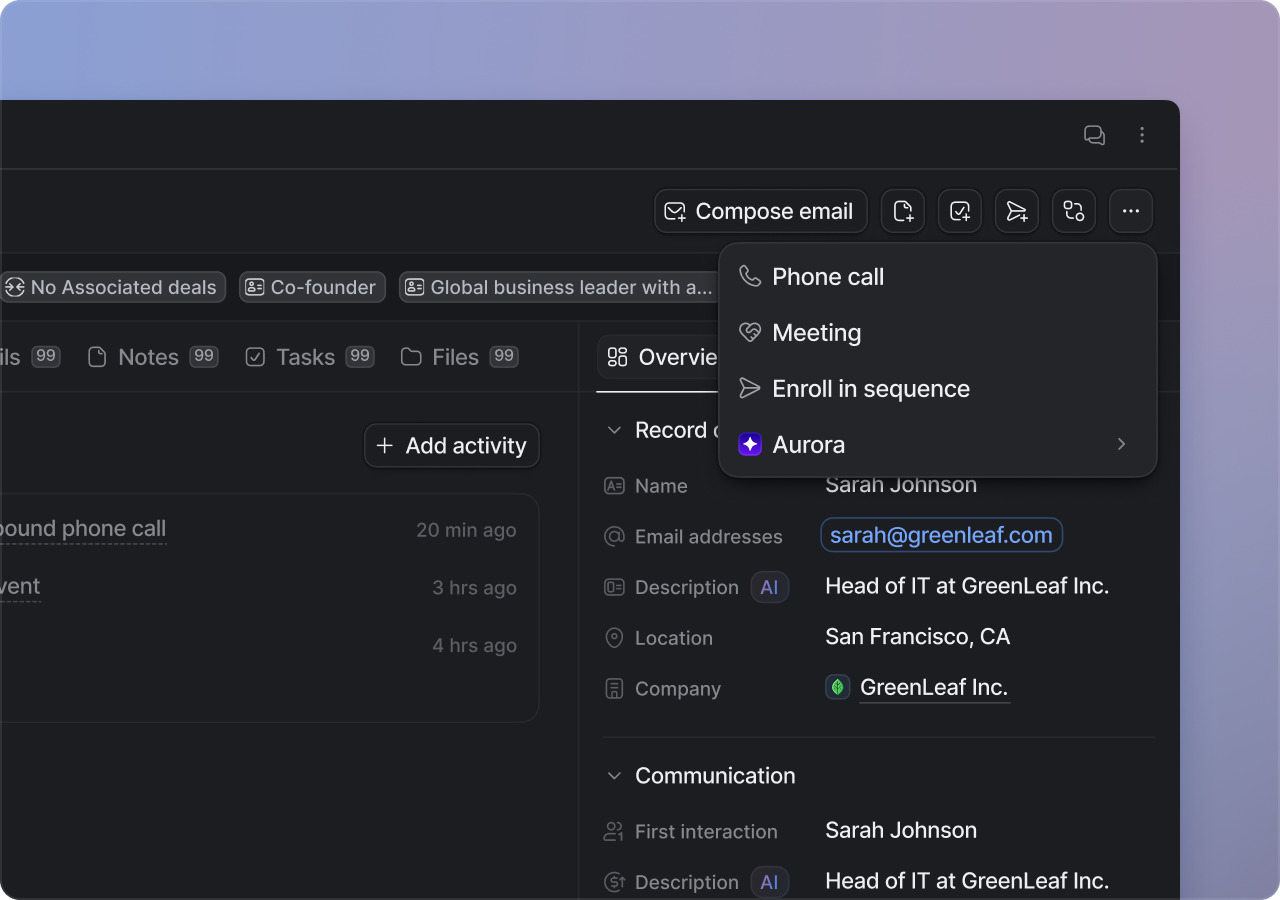 Click it, and it will reveal a dialog.Congratulations! Your app is now running inside Attio.
Click it, and it will reveal a dialog.Congratulations! Your app is now running inside Attio.8
Make changes
Let’s try editing the dialog code. The example action lives in its own folder under
src/app/extensions/. Open it and head over to the dialog component next to extension.tsx. Try changing some of the code in the dialog.Hit save. Head back to Attio, close your dialog and re-open it by clicking the action button again. You should see your changes live.Well done! You’re now well on your way to building apps in Attio.Next steps
Your new app is organized by folder convention: every UI extension lives in its own folder undersrc/app/extensions/. Read App structure to see how the pieces fit together, then explore what you can build in the App SDK overview.